How to Schedule a Film Shoot (Step-by-Step Guide)
Planning a film shoot can feel overwhelming, especially when you’re juggling locations, cast availability, crew logistics, and budget constraints. A well-built shooting schedule is what transforms a script into a realistic production plan.
In this guide, we’ll walk through exactly how to schedule a film shoot step by step — the same process used in professional productions.
What Is a Film Shooting Schedule?
A film shooting schedule is a detailed plan that outlines:
- What scenes are being shot
- When they are being shot
- Where they take place
- Which cast and crew are required
It’s the backbone of your production. Without it, even the best script can fall apart on set.
Step 1 — Break Down the Script
Before you can build a schedule, you need a script breakdown.
This involves identifying:
- Characters in each scene
- Locations
- Props
- Wardrobe
- Special requirements (stunts, VFX, etc.)
Each scene becomes a set of production elements you’ll need to track.
👉 This is where most productions begin using film scheduling software, since manual breakdowns can quickly become unmanageable.
Step 2 — Organize Scenes by Location
One of the biggest mistakes beginners make is scheduling scenes in script order.
Instead, group scenes by:
- Location
- Time of day
- Cast availability
Why?
Because moving locations is expensive and time-consuming. Efficient scheduling minimizes company moves and keeps your shoot on track.
Step 3 — Create a Stripboard
A stripboard is a visual layout of your entire film schedule, where each scene is represented as a “strip.”
This allows you to:
- Rearrange scenes easily
- See your entire production timeline at a glance
- Optimize shooting days
Professional productions rely heavily on stripboards because they make complex schedules manageable.
Step 4 — Estimate Time for Each Scene
Not all scenes are equal.
Consider:
- Scene complexity
- Dialogue vs action
- Number of setups
- Lighting requirements
A simple dialogue scene might take a few hours, while a complex action sequence could take multiple days.
Step 5 — Build Your Shooting Schedule
Now you can assemble your schedule:
- Assign scenes to shooting days
- Balance workload per day
- Ensure cast availability aligns
- Factor in turnaround time
At this stage, using dedicated film scheduling software can save hours and reduce costly mistakes.
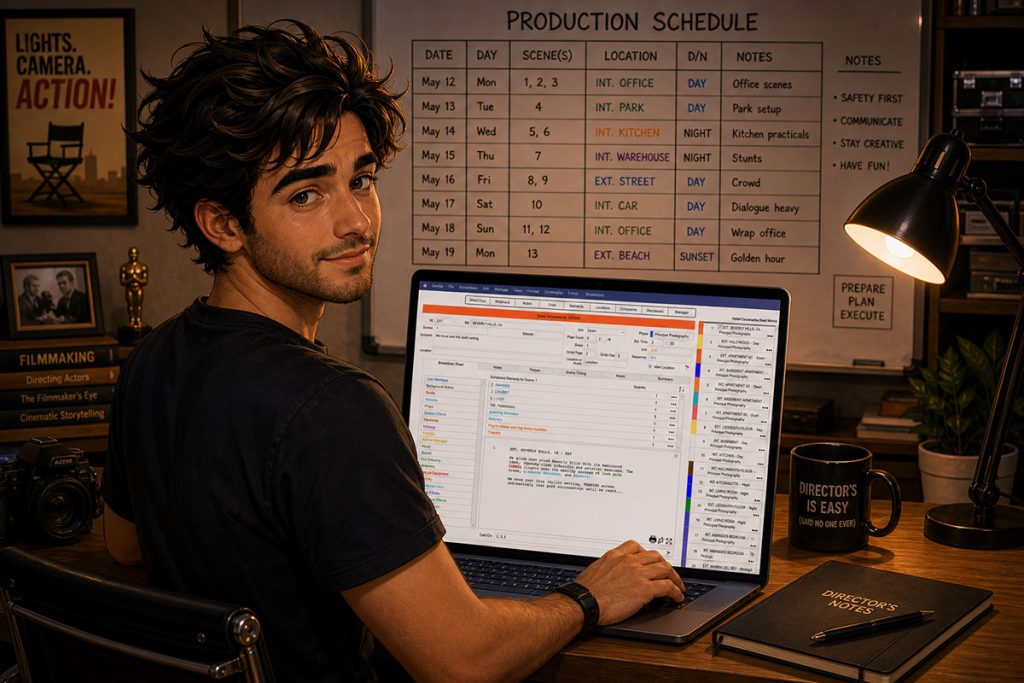
Step 6 — Create a Production Calendar
Once your schedule is set, map it onto a calendar, typically called a Production Calendar.
This helps you:
- Track shoot days
- Coordinate departments
- Communicate clearly with your team
A clear calendar keeps everyone aligned and reduces confusion on set.
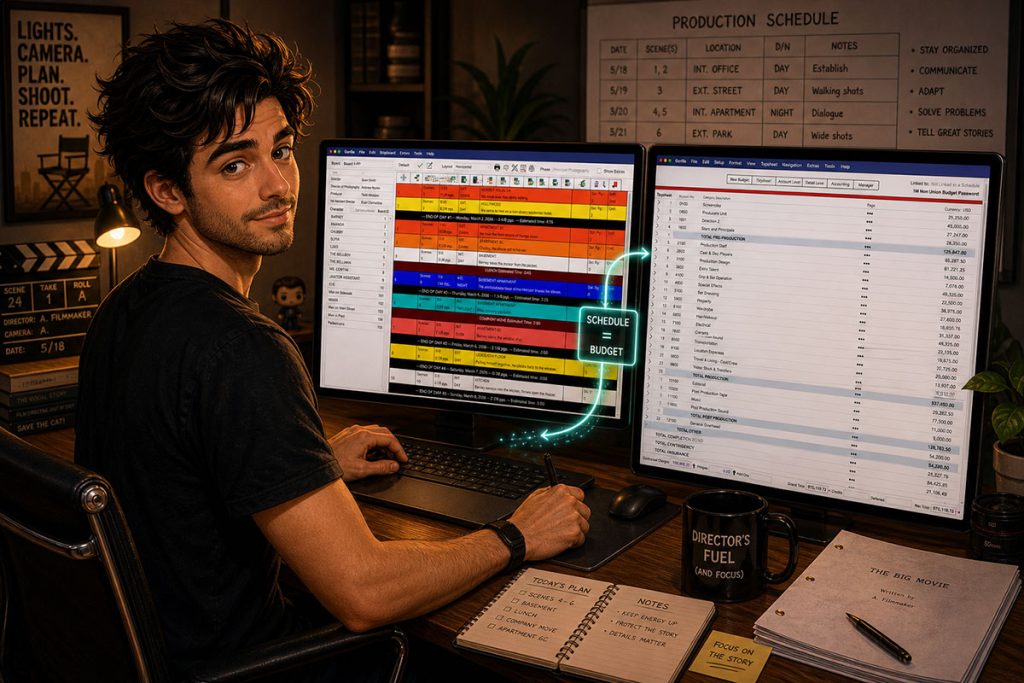
Step 7 — Adjust for Budget Constraints
Scheduling and budgeting go hand in hand.
A strong schedule:
- Minimizes overtime
- Reduces location costs
- Maximizes efficiency
This is why many filmmakers use tools that combine film scheduling and budgeting software in one workflow — allowing adjustments in one area to reflect in the other.
Why Filmmakers Use Film Scheduling Software
While it’s possible to build a schedule manually, most productions use professional tools to:
- Automate script breakdowns
- Build and adjust stripboards quickly
- Manage complex productions efficiently
Tools like Gorilla Scheduling are designed specifically for this process, helping filmmakers move from script to shoot without the chaos.
Final Thoughts
Learning how to schedule a film shoot is one of the most valuable skills a filmmaker can develop.
A great schedule doesn’t just organize your production — it protects your budget, your timeline, and your creative vision.
Continue Learning Film Production Planning
If you’re diving deeper into production planning, understanding how stripboards connect to scheduling and budgeting is essential.
You may also find these guides helpful:
- How to Estimate Shooting Days from a Screenplay
- Film Budget Template (Free Guide)
- What is a Stripboard and How to Create one
- How to Write a Filmable Screenplay
- What Is a Call Sheet in Film? (Free Download)
- Film Budget Categories Explained
- How a Shooting Schedule Impacts Your Film Budget
Together, these form the foundation of an efficient, well-organized production.
Questions or Comments?
Have a question about stripboards or film scheduling? Feel free to leave a comment below — or reach out if you want to learn more about how professional tools can streamline your workflow.